Faster Product Development with AM
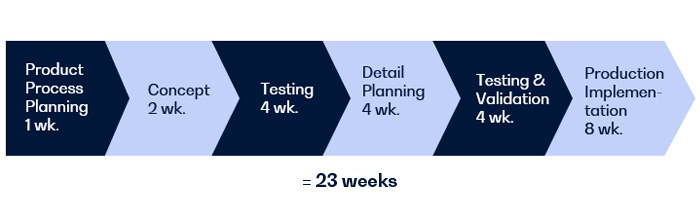
Most people seem to think that product development is time-consuming and expensive. Future development projects are determined during the fall of the previous year. This means that the resources allocated for them represent the best possible guess available at that time. Adequacy of these resources is monitored closely during the development phase. At worst, development must be called to a halt and transferred to the following year, which renders no realizable revenue. Even a simple project can easily take months, as described in the chart below. Of course, a vast amount of this “development” time is actually just waiting. Creating manufacturing documentation and part production, for example, often take months. After all this waiting time, you might still not have a single actual product version ready.
Should We Accept Waiting as an Integral Part of Product Development?
According to our experience, no way. Additive manufacturing, also known as AM, is just the tool you need to get rid of unnecessary waiting time. And why is that? With CAD modeling as the only step needed for manufacturing documentation of the prototype, production can be initiated practically immediately. No other tools are necessary. At its best, product development can be iterative and effective – a process that goes so smoothly that other organizations admire your efficiency. However, it is crucial to recognize which factors are critical in each stage of the process, as well as to understand what kind of a product one is about to develop and what its requirements are.

Five Factors for More Effective Design
What does this mean in practice, then? What can designers do to make the product development process more effective? Quite simply, by minimizing unnecessary work and taking benefit of the possibilities AM has to offer.
Here is a list of five factors that give you a better designer efficiency with additive manufacturing:
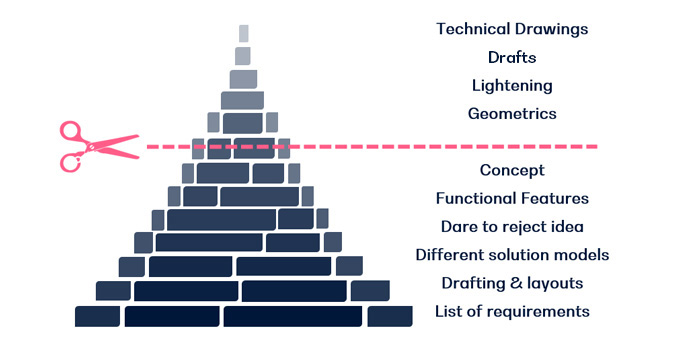
- Do not overdesign at the beginning of your project (see Figure).
- Make full use of different skills during the project. Use them flexibly.
- Keep component lists to a minimum. With AM, you can produce a variety of complex shapes. Make use of it.
- Test a few alternatives at once, get several prototypes for simultaneous testing.
- When it comes to 2D documentation, create only the documentation you really need for post-treatment.
One Month from Design to Product: Case New Monitor Holder
Our way of practice is effective, and we have several client projects to prove it. An example is the following case where we designed a new monitor holder. In all its simplicity, the goal was to design a new touch-screen monitor holder that embraces ergonomics, looks nice, does not require modification of other components, can withstand certain forces in predestined directions and is ready to be delivered in the same package with the actual device one month from now. That’s right. One month from now…
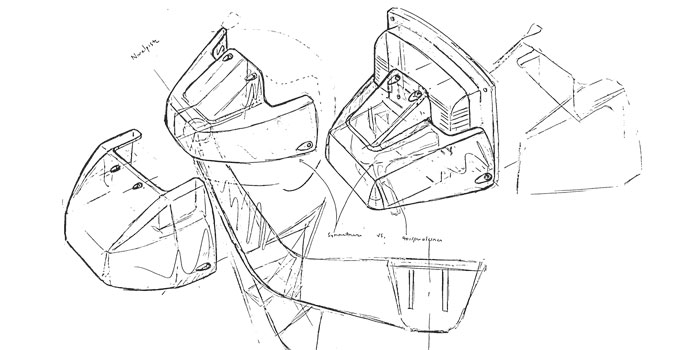
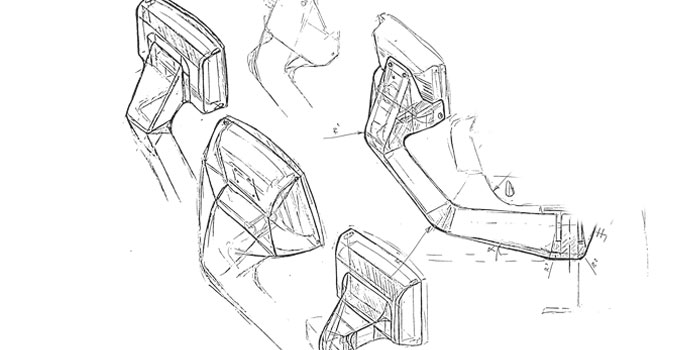
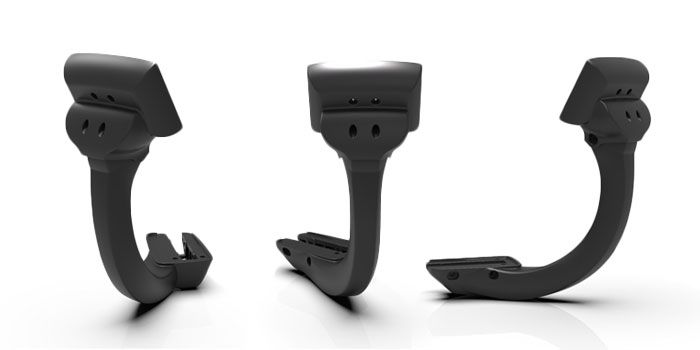
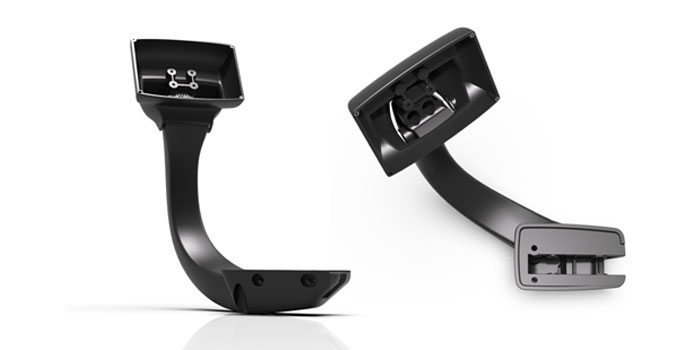
The project was launched with a definition of a requirements list, followed by a CAD modeling of the environment and an agreement on how the holder should be fastened. Original plan was to proceed traditionally and make the product of sheet metal. This was changed, though, in a mutual agreement, to polymer powder bed fusion with Selective Laser Sintering (SLS), as we wanted to make sure to hold the timetable and secure achievement of project objectives. The following step was to get an industrial designer, provide them with a pencil and some nice, big sheets of paper, and ask them to sketch out the main lines. In a few hours, our AM designer had a clear vision of necessary reference points and needed components.
The next step was to convert these forms into 3D, considering even other functional factors and making sure the product would be durable. The following two weeks included a few meetings with the client to keep us on the right track. Finally, after a Finite element method analysis, or FEM, to ensure the product’s durability, we were able to order the components. Manufacturing of the components took 3 working days, plus one day for transport. All in all, our customer could lay their hands on the first product exactly 14 working days after project launch.
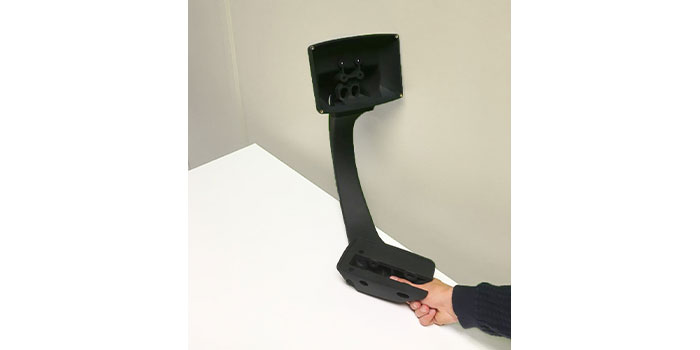
A couple of days’ waiting followed when the customer tested the prototype. After that, we were able to make final adjustments – which, to tell the truth, we did quite eagerly. With only a short wish list for changes, the final version was ready for production already after a few days.
Do you have a product development project in mind? Let us make it both effective and flexible!
More information:
Jasperi Kuikka
+358 45 349 0665